Introduction
The Blocks Editor in App Inventor 2 is based off the open source library Blockly, which being written entirely in JavaScript, allows for direct execution in the browser. This means saying goodbye to Java Web Start, and most of the problems caused by not having a proper installation of Java in the users’ machines, including other externally generated problems (such as a particular vendor deciding to turn off web start in all machines after an update).
Before you begin
This guide assumes that the reader is comfortable with the development workflow of App Inventor. Things such as cloning the sources and checking out the appropriate branches (in this case, the main one called master), or creating feature branches for further development are not explained here. Please consult other App Inventor documentation for those matters.
Developing App Inventor 2
An overview of how to get started, main differences with other Blockly apps, structure of the blocklyeditor project, debugging and development tips and tricks, structural changes in the Designer, and communication between GWT and JavaScript.
Note that all the content in this document refers to development having to do with the new blocks editor. Other topics such as component development, or system deployment, have not changed from how they are done in App Inventor classic, so the existing documentation is still relevant for those tasks.
How to get started
The first thing to do is to make yourself familiar with Blockly through their wiki. There are different parts to Blockly that you might or might not need to understand depending on what you are working on (although it’s always good to know what’s going on). For instances, if you are going to be working on UI tasks or issues, you won’t need to know much about how generators work, but you’ll need to understand how the library is loaded, and how the blocks are defined.
Make sure you at least go through the following pages: closure, installation, injection, toolbox, and custom blocks. With regards to toolbox, note that we do NOT use that functionality in AI2 (we use a file called drawer.js instead), but it is good to know how it works in Blockly to avoid confusion if you see code that is different from the examples in the wiki.
If you need to work on the part of the blocks editor that generates YAIL, you’ll want to read about Generating Code. Note that YAIL is not one of the languages supported by Blockly out of the box (JavaScript, Python, and XML are), so we have a set of custom files to make the conversion from blocks to YAIL.
You should also make sure you are comfortable with the overall structure of a Blockly app, by playing around with the demos in the codebase, and also be familiar with the overall philosophy of the language and have a quick look at the FAQ. The other pages in the wiki will also be highly informative, so at least a quick scan would be helpful.
Main differences with Blockly (in brief)
We use drawer.js instead of toolbox.js
We don’t pass parameters to inject
Motivations for the differences:
1) We have components and local variables
2) We have multiple screens, and each load its own instance of Blockly
3) We have some functionality that although it is not in Blockly, we will work (eventually) in contributing it back (if they should want it). Right now there are few things such as arrangements, typeblocking, and RBG colours.
Structure of the blocklyeditor project
Write about the main structure, how it connects to core in appinventor/lib/blockly, how blockly-all.js is generated through ploverConfig.js
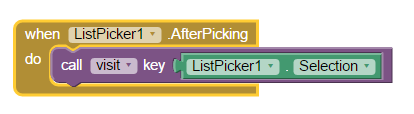
Figure: Block Definitions
explain!!!
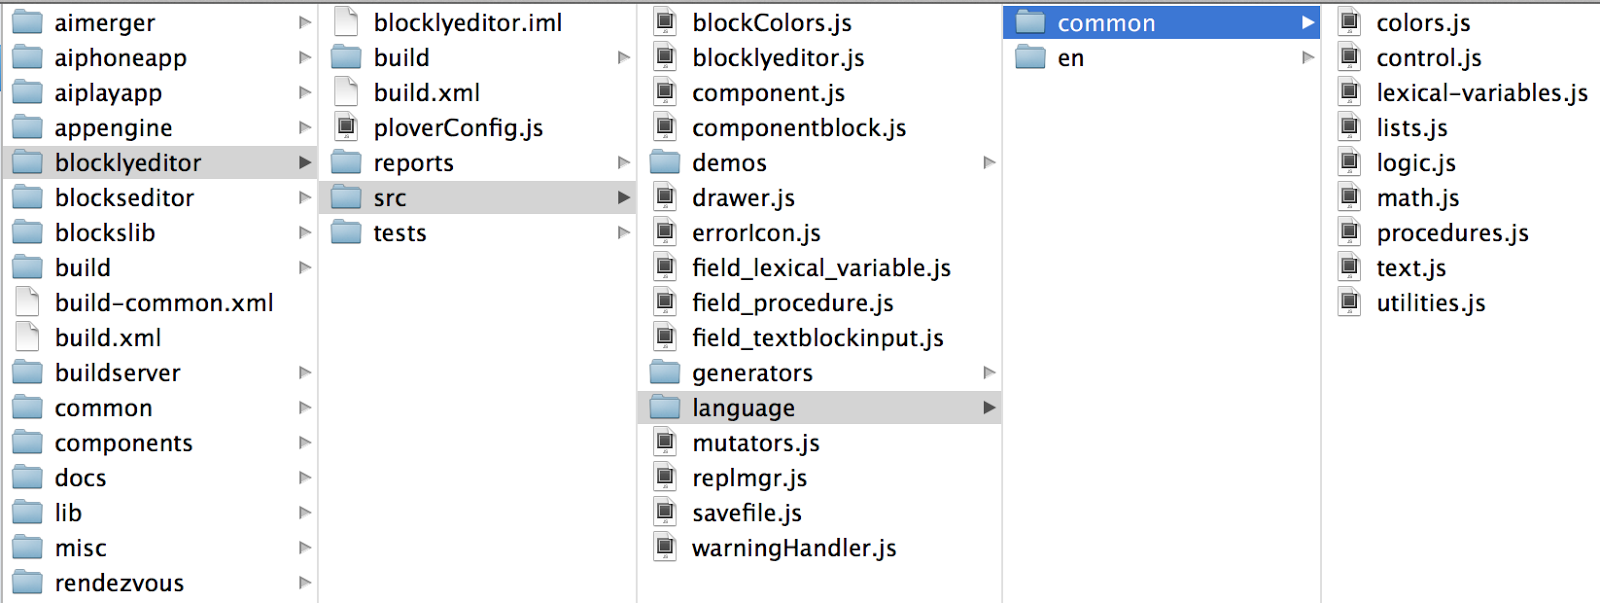
Figure: generators
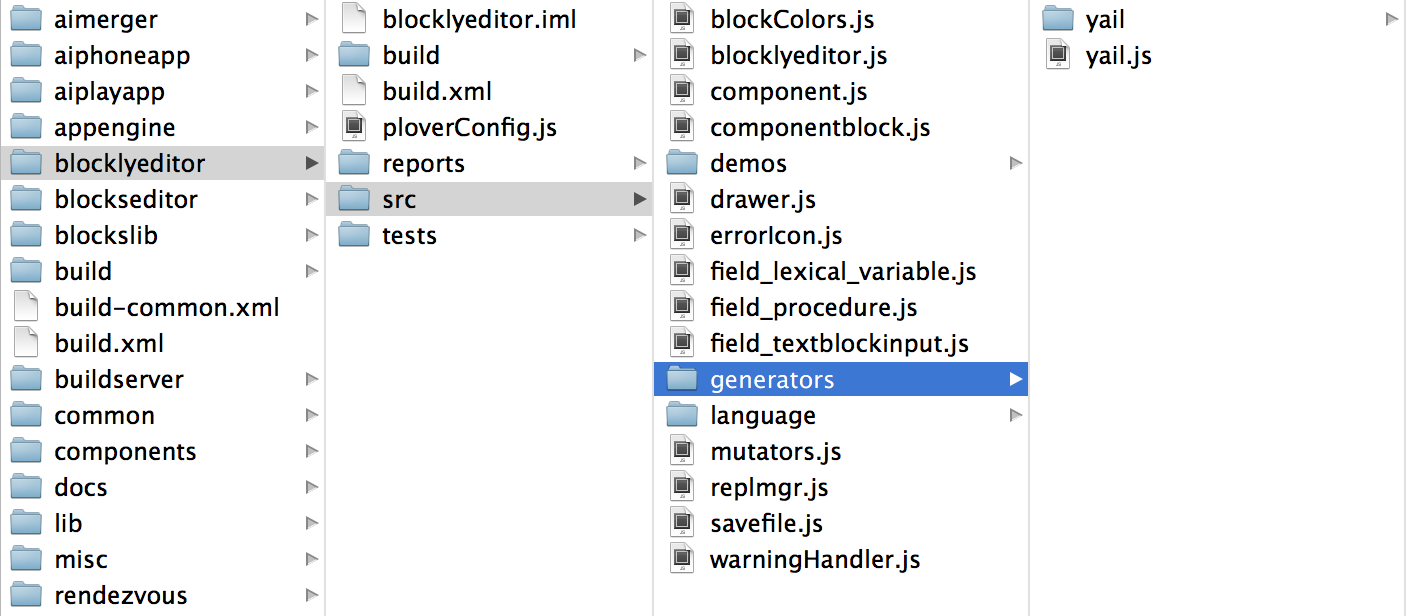
explain!!!
Figure: Blockly sources in lib dependencies folder
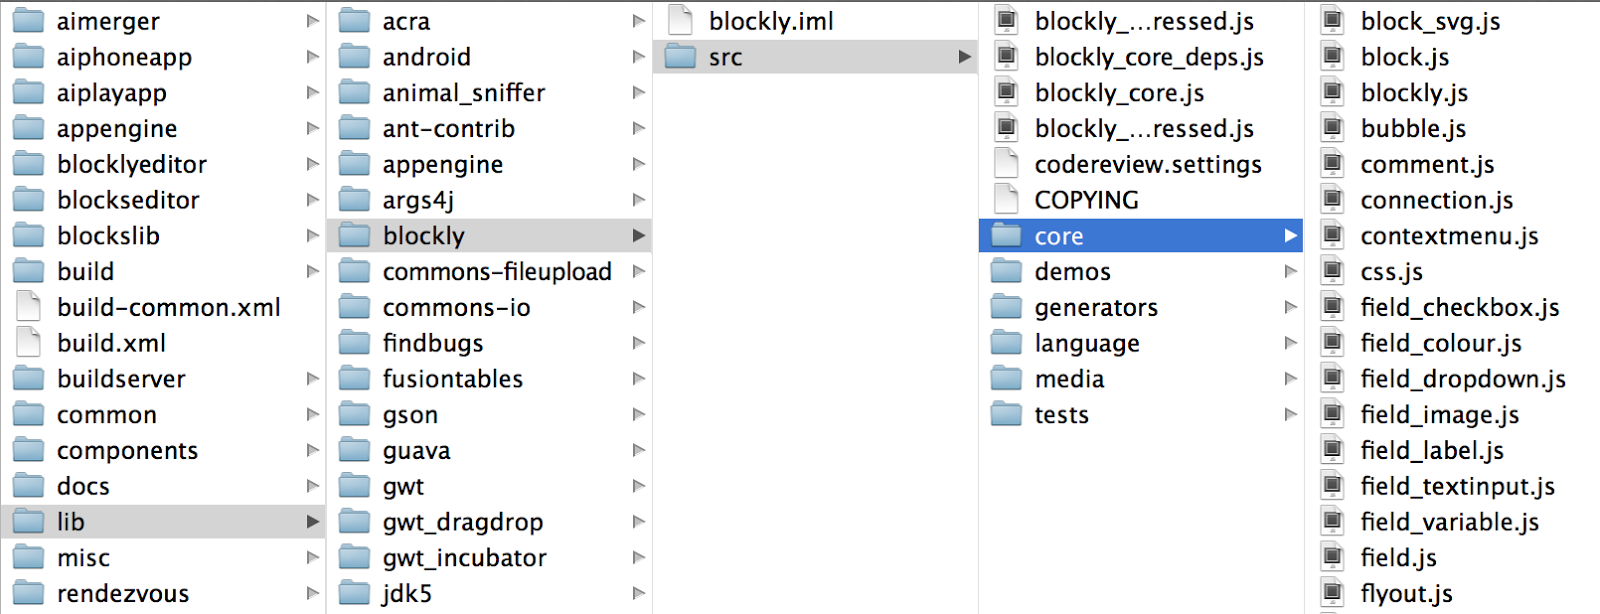
explain!!!
Can add a few tips to import projects in intelliJ ultimate (although this will be a different doc altogether).
Rebuilding the Project
If you are only making changes in JavaScript, there is no need to re-start the full server.
The target `ant Blockly` will only generate a new blockly-all.js file, which is the file that contains all the JavaScript code for the Blocks Editor. The trick after that is to load it in the browser instead of the old one that is probably cached.
There are two ways to do this loading; Jeff opens the js file directly in a tab in the browser, so that it loads up the new copy. I use a separate browser for development (Chrome Canary) with caching disabled. Pick the one you prefer, or come up with a new recipe! (re-starting the server will also get you there).
If you make changes in any other files, such as html or Java, a full incremental build will be required (using `ant`), and a restart of the server will also be necessary.
Interactive Debugging
Using dev tools. An intro to dev tools here would be good, but we’ve no time for that now. If you don’t know how to use Chrome dev tools or Firebug, read this, complete this course, and watch this video.
Blocklies variable and other tricks:
There is a top variable in the JavaScript window object called ‘Blocklies’. If your project id is ‘/#5629499534213120’ and you are working on Screen1, you can get to the copy of Blockly for that Screen by issuing the following command in dev tools:
bs = Blocklies['5629499534213120_Screen1']
Note that the first part of the string passed in as an index to Blocklies is the project number (whatever yours happens to be), and then a combination of the string ‘_Screen’ finished by the number of the Screen you are working on. For project id #34 and Screen number 5, the string to pass would be ‘34_Screen5’.
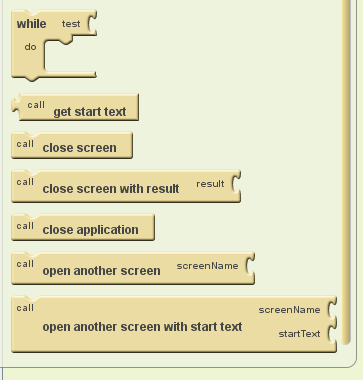
That will give you an Object that you can expand to investigate its contents. A few of the things you will want from that object are:
bs.mainWorkspace ← access to the workspace
bs.selected ← access to the particular selected block in the workspace, if any
bs.mainWorkspace.getTopBlocks() ← access to an array with all top blocks in the workspace.
You can see all these in the following figure:
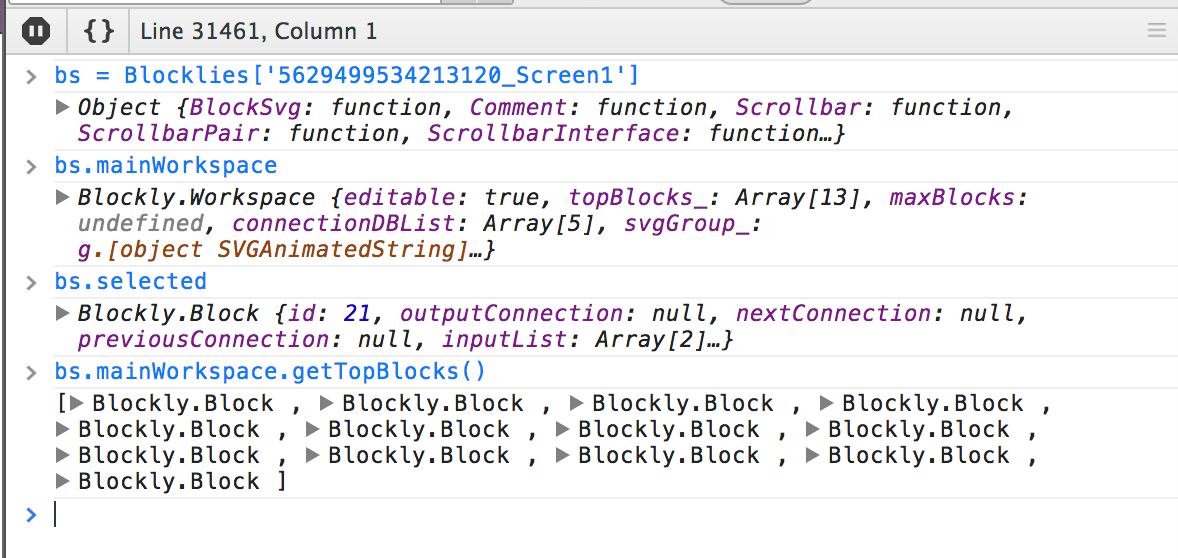
Expanding those objects (through the triangular handle to their left) will provide a view of what’s inside, as in, what kind of attributes and methods they have.
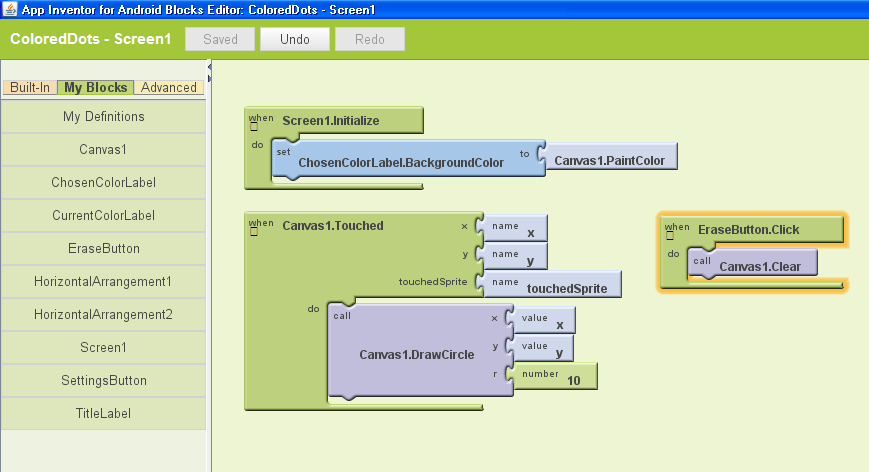
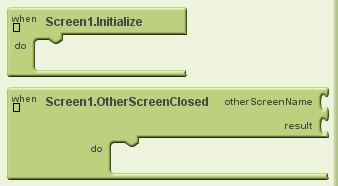
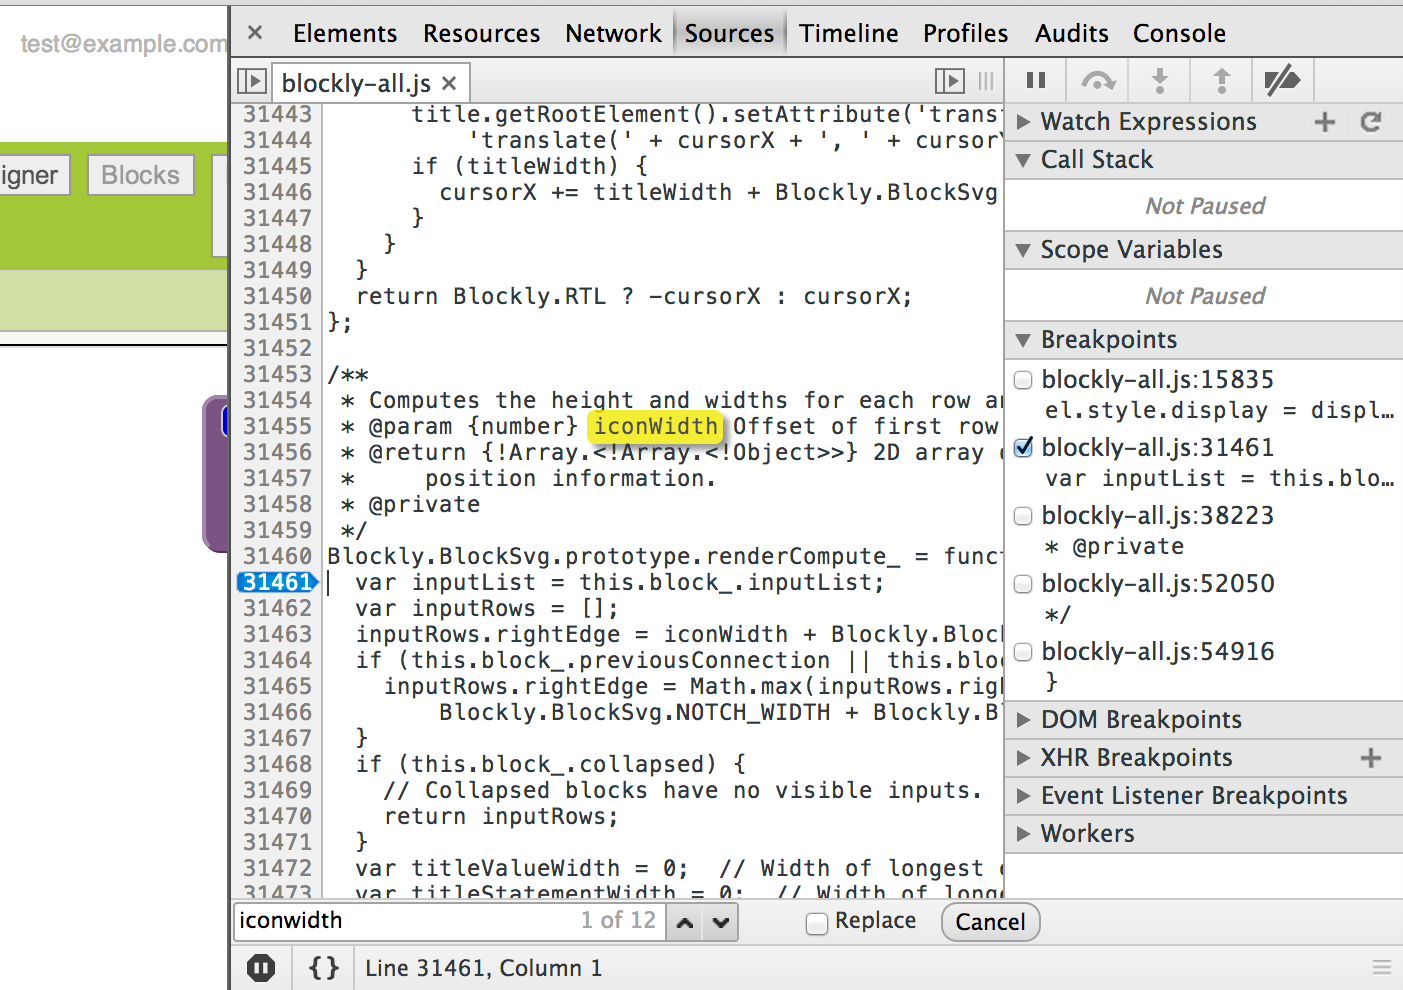
The ‘Sources’ tab of the dev tools allows for code to be shown. If you load the file blockly-all.js, you can search (highlighted in yellow), and you can also set breakpoints for debugging (in blue). The following figure shows that:
How it connects to the Designer
(and how to pass stuff around GWT <--> JavaScript ).
Structural changes in the Designer
Changes to Panels: some modifications to panels have been made for AI2 so this has to be documented (there are quite a few differences with the doc The Browser Client, not only in the addition of the panel for the blocks editor, but also in the changes made to create more screen real state for the editor (changes in the debugging window, the footer, and so on)).
Using an IDE (or not!)
is using a IDE really necessary? this is, after all, a JavaScript project, and IDEs don’t support dynamic languages in the same way that they can support Java, so should you use one? the answers is that it’s really up to you. There’s emacs, vim, and IDE users in the dev team, and we all think our editor is the best (elaborate)
We used Eclipse for a while, we are moving to intellij now, but we still use plain editors.
What are the advantages of using an IDE? additional niceties such as static analysis (limited, but many times helpful), or the in-built support of IntelliJ ultimate for Google Closure (which we use in the project).
Are there other ways to get those advantages in my editor of choice? for the most part, yes.
The limited static analysis that intellij can provide for JavaScript, could be provided by fine grain unit tests.
You can use jsLint or jsHint from emacs and vim (link to plugins). And this should be part of our dev cycle, no doubt!
Blockly and Google Closure
(this section might fit better in the programming section, instead of on its own)
Talk about their relationship, and how Neil switched to G Closure a few months ago and we are still catching up in our own code (we use it if we modify core, but it’s not fully utilised in our language and generator files).
What else?
I don’t know... yet!